Showing posts with label crafts. Show all posts

Sunday, September 22, 2013

Back to School!

I'm really lovin frame "wreaths" this my tribute to the kids being back in school, wooo hooo!
I found this frame at the resale shop for $2.00, yes!
Please sand before you start spray painting!!! Again I tried to short-cut it and again it was a losing battle, experience talking, do it right from the beginning! Spray painted the frame Banner Red by Krylon.
The F is for Ferguson not because my kids get F's ;). The cardboard F came from JoAnn's, months ago, out of the clearance bins near the fabric cutting table. What marketing geniuses putting clearance bins where you wait your turn to have your fabric cut. Of course I needed the two they had, I didn't have a plan, but you never know when you will need 6 inch initials.
I spray painted it flat black like a black board. Not sure if all my kids even know what a black board is?
Michael's had the cutest school buttons and chalk board ribbon. I cut the backs off the buttons and glued them to the F. I made the bow using this technique, layering it with royal blue.
Finally I used some the kids extra school supplies and glue them on the frame.

I just loved how it turned out.


Enjoy the school year 24-7!

Jill

Friday, August 2, 2013

Preview revealed!

I have been working on making my laundry room pretty, since I spend so much time in there. I saw this idea when I was searching laundry rooms and just fell in love with it.
So I went in search of a small box style wreath frame
and found a 8" one at Hobby Lobby.
I had plenty of unused close pins from when we had close lines at our first house (new neighborhood "outlaws" them). I spray painted the wreath frame ivory. Let the paint dry a few days before adding the close pins to ensure curing, other-wise the paint will stick to the close pins.

I tried a few different patterns, before I settled on this one

First row pin one on the last bar, one on the second bar. Next row pin one on the third bar.....(none on the first bar). You can play around to find the best pattern for you.
I love how this turned out. My laundry room is still a work in progress, but this is my progress so far. More to come....

If have any ?'s comment below.

Have a Happy 24-7 Weekend!

Jill

Tuesday, July 30, 2013

Decorating with Vacation Memories

Do you collect things on vacation, take pictures, or both. I'm in the both category. What do you do with them after vacations over? Are you a scrapbooker? Yes. Do pictures just accumulate on your SD card? Sometimes. Do you use your collected things or just pack them away? I packed them until recently. If you answered yes, no, maybe so, to any of or all of these; I have some ideas for you....
We are beach vacationers, we collect sand, rocks, driftwood, shells, lighthouse figures, books, pictures, and whatever else tickles our fancy.
We have a beautiful mantel and sideboard that gets different decoration themes quite often and here is this years summer "beach" theme....
We brought home sand, shells, lighthouse figures and photos, antique buttons, rocks, driftwood, books and many many pictures from our trips to Michigan and Florida. I love the look of filled glass containers; I put my memories and collections together.

Don't forget to add some personal photos too, of family or just objects it makes it so personal.

Really can't wait until our next vacation or weekend trip to bring home more memories to play with.

Happy 24-7 Memory Making!

Jill

Saturday, July 20, 2013

Easy Update to Great-Grandma's Treasure

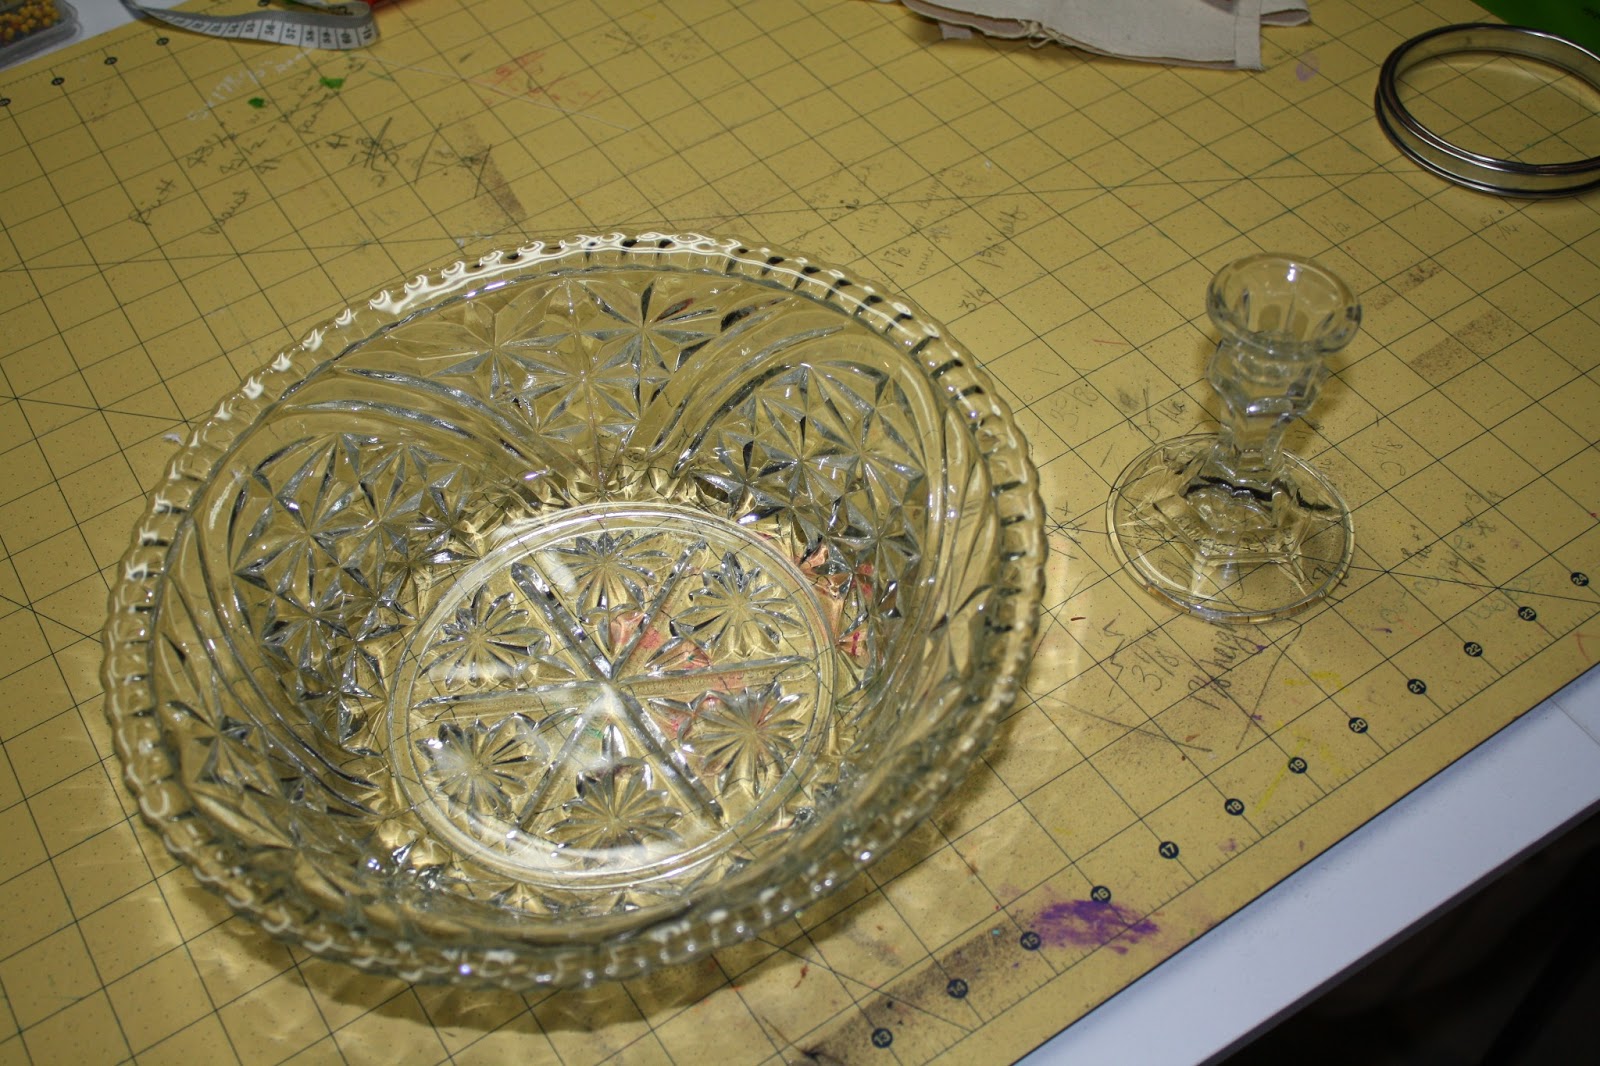
I was lucky enough to know two of my great grandmother's. My mom's grandma was the wonderful woman who passed her love of sewing to me (taught me too). Just to say I was her favorite great grandchild. By the time she passed she had gifted me with some of her lifes treasures. Matching glass bowls, platters, and salt and pepper shakers were some of those items, and one odd ball bowl so I turned it into this.....
with just a few easy steps.
The bowl, a candlestick, and E6000 glue. Let it dry for 24 hours and you have a beautiful pedestal bowl.


Happy 24-7!

Jill

Tuesday, July 9, 2013

Grandma's Pins!

I painted my bathroom a year and a half ago and I am still trying to decorated it! I just have not found all the right babbles to make it that perfect space that I have in mind. This is driving my hubby crazy by the way.
A couple of weeks ago my youngest came down with strep and she loves company when she isn't feeling well. So I had many hours of sitting in bed watching Disney channel; after about two hours straight I stole dear hubby's Ipad and pinned my little heart out.
This is something that caught my eye since I inherited my grandmother's pins.
Not sure how I was going to incorporate this into my house, but if you are as addicted to Pinterest as I am you know you pin it just incase.
After about three days of playing nurse I had my own case of cabin fever and needed a little mommy time. So I ventured out to the biggest resale shop in our little town. I was browsing the frame section (one of my favorite sections) and found these....
I knew these were perfect frames for my pins; I also knew exactly where these would go....
This silly little space in my bathroom. Yea!!
These are the pins I wanted to frame.
So this is how I did it....
I measured and cut a piece of foam board to fit in the frames. I used natural colored canvas for my background; so I measured and cut it slightly bigger than the foam board. Last I sprayed one side of the foam board with adhesive; let it dry until it is tacky before you apply the material. While the adhesive drying I marked the middle of my canvas, pinning the pins in the center.
Finally the adhesive was ready and I smoothed the material on the boards, put then in the frames, ready to hang!
Once I hung the first one on the wall I realized the stands on the back made the stick out so I added command adhesives to the back and YES now they are really ready to hang!!!
So beautiful and a great reminder of my grandmother and friend!

Enjoy a memorable 24-7

Jill

Saturday, July 6, 2013

Pool Party

Yesterday the family attended a pool/8th grade graduation party(Yes around here we celebrate going into high school). So what to bring as a small gift??? This is what I came up with. Sophi my 11 year old help me pick out the stuffing....check it out.
So I started with this...
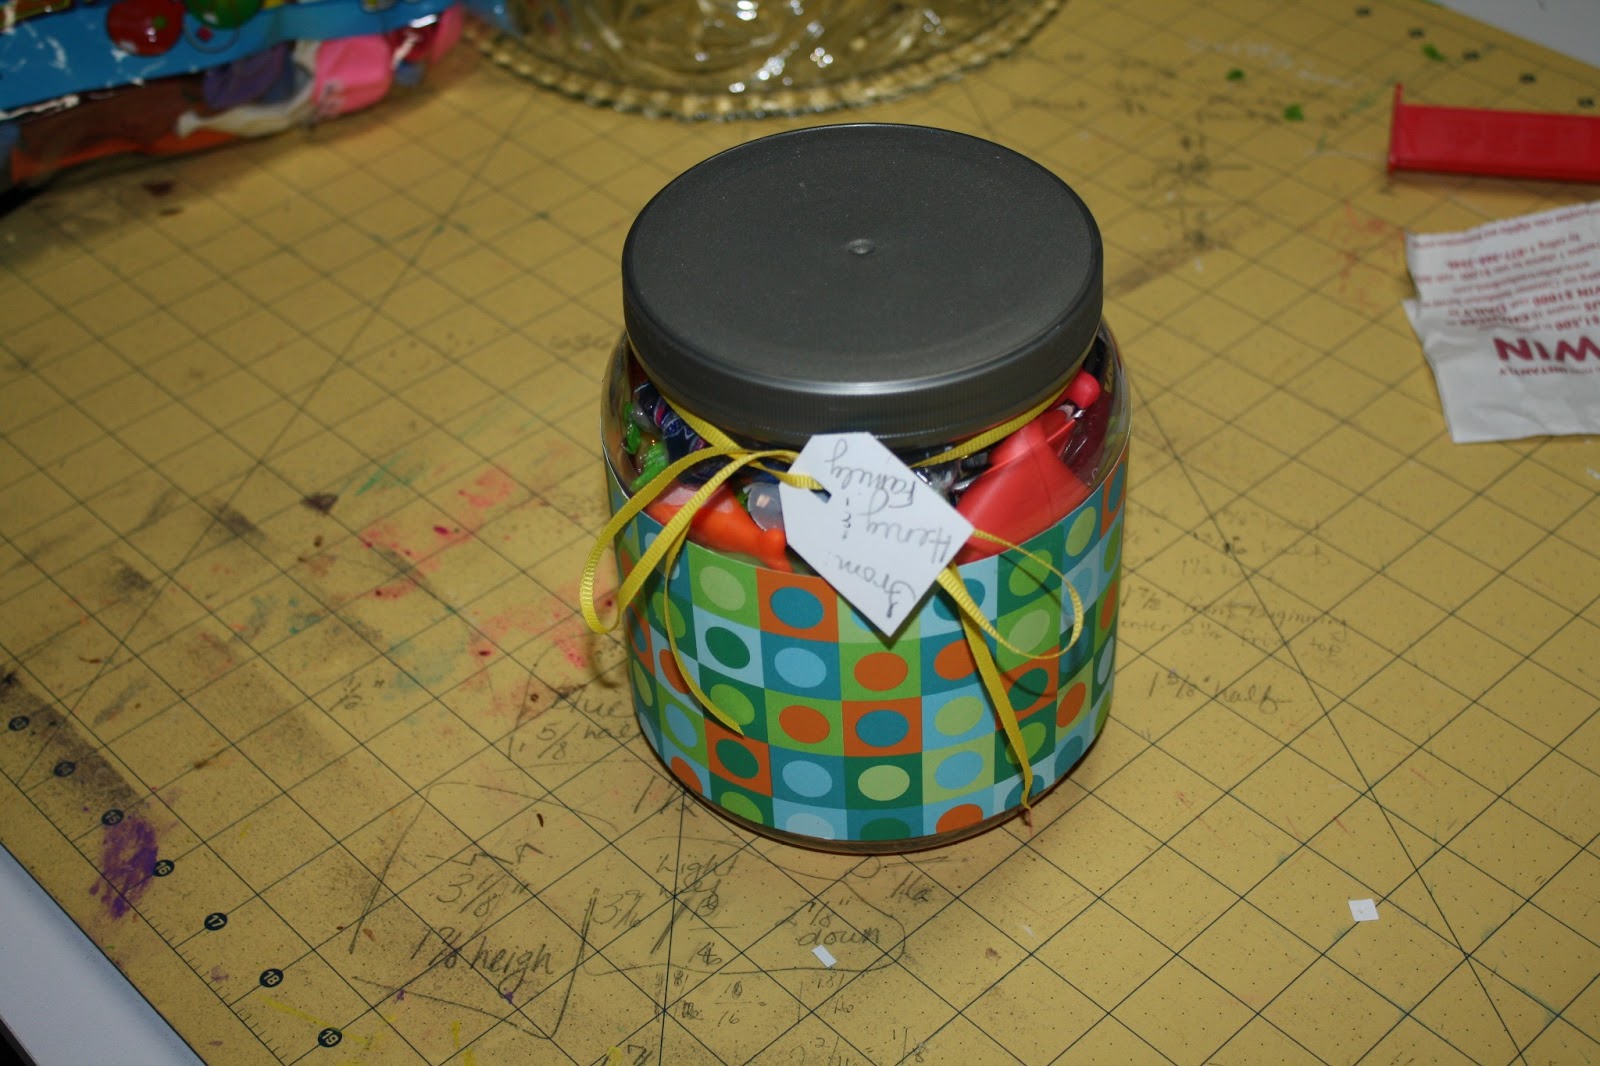
The container was from Targets snack mix my hubby received for Father's Day. I wanted to use this as the gift wrapping too, so we cover the middle with scrapbook paper.

When I got to the point of sticking it to the jar I realized my girls used all my double sided tape, so.... I found a sheet of double sided tape stuff and cut it into strips. This is how I applied it to the jar.

Then cut I cut a paper towel tube the same height as the jar. Held it in the center, filled the jar around it with the treasures from the Dollar Tree, and last stuck some cash in the tube.

The lid was attached, tag was punched out from the same scrapbook paper we used to cover it, then tied on with a ribbon and SUCCESS!

She loved it!

Happy 24-7

Jill